Last Updated: 7 November 2026
Quick Summary
Thermal imaging detects surface temperature differences that point to moisture, heat loss, draughts and electrical or mechanical faults. It flags the pattern rather than confirming the cause, so an inspector verifies each anomaly with a moisture meter or a closer physical check. The camera reads heat on a surface and cannot see through walls, glass or clothing.
- A thermal camera needs a temperature difference to show anything useful; a flat, uniform scene tells you little.
- Damp patches usually read cooler because evaporation pulls heat away, but a moisture meter must confirm the water.
- Thermal imaging cannot see through walls, glass, smoke, water or clothing; it reads the first surface in line of sight.
- Shiny metal has low emissivity, often below 0.2, and reflects surrounding temperature, so it can read wrong.
- Survey external walls on a cool, dry, overcast day with low wind for the most reliable result.
Table of Contents
- How Thermal Imaging Turns Heat Into a Picture
- What Can Thermal Imaging Detect in a House?
- Can Thermal Imaging Detect Moisture in Walls?
- Thermal Imaging vs Moisture Meter: How They Work Together
- Thermal Imaging Camera Limitations You Should Know
- How an Inspector Reads a Thermal Image Responsibly
- Book a Thermal Imaging Inspection Before You Bid
- Frequently Asked Questions
How Thermal Imaging Turns Heat Into a Picture
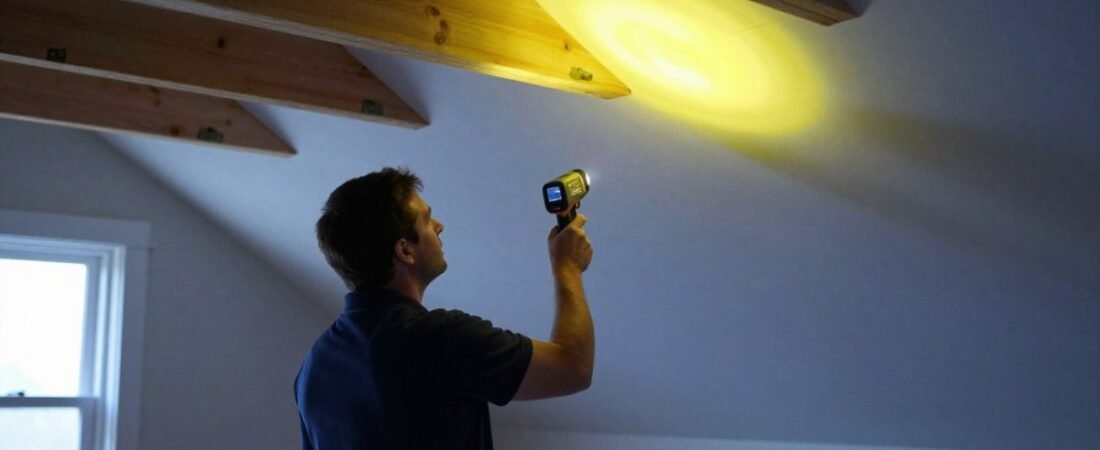
Thermal imaging uses a camera to detect infrared radiation and convert it into a visible picture of surface temperature. Every object above absolute zero gives off infrared energy, and a thermal camera reads that heat and paints it as colour on a screen.
A thermal imager does not see light the way your phone camera does. It sees heat.
Infrared Radiation and Surface Temperature
Infrared radiation sits just beyond red on the light spectrum. Your eyes cannot pick it up, but an infrared sensor can. The camera measures radiated heat from a surface and assigns each reading a colour or shade.
Warm areas show as bright, cool areas as dark. The result is a thermal image built from temperature data, not reflected light.
Why Temperature Difference Matters
A thermal camera needs contrast to show anything useful. If a wall, a floor and the air around them are all the same temperature, the image looks flat and tells you little.
Thermal contrast comes from a temperature difference. A cold draught, a damp patch or an overheating circuit stands out because it is warmer or cooler than its surroundings.
What Can Thermal Imaging Detect in a House?
In a house, thermal imaging detects surface temperature differences that point to moisture, heat loss, draughts and electrical or mechanical faults. It flags the pattern; the inspector then confirms the cause with a moisture meter or a closer physical check.
Here is what thermal imaging is commonly used to look for:
- Walls and ceilings: damp patches, water ingress, missing insulation
- Floors: underfloor draughts, slab moisture patterns
- Windows and doors: air leakage around frames
Moisture and Water Ingress
Water changes how a surface holds and releases heat. A damp patch often shows as a cooler area because evaporation pulls heat away, a strong hint of moisture or water ingress.
It is a hint, not proof, and a moisture meter is typically used to confirm it before a finding is recorded.
Heat Loss, Insulation Gaps and Draughts
Heat loss shows up clearly on a cold day. Warm air escaping through gaps and thin insulation glows against the cooler structure. This is one of the most reliable uses of thermal imaging in building inspection.
Draughts show as streaks of moving air. Insulation gaps show as patches where heat passes through faster than the surrounding area.
Electrical and Mechanical Hotspots
An electrical fault often shows as a hotspot before it fails. Loose connections and overloaded circuits run hotter than they should. A thermal camera spots that overheating without touching a thing, making it a safe, non-contact measurement.
Mechanical parts, from pumps to motors, give the same early warning. A hotspot can mean friction or a part about to give out.
Can Thermal Imaging Detect Moisture in Walls?
Yes, thermal imaging can detect the thermal pattern that moisture in walls creates, but it cannot confirm water on its own. A damp wall usually reads cooler than a dry one, so the camera flags a cold spot. A moisture meter is then used to test that spot and confirm water ingress. Used alone, a thermal image can mislead, which is why it is best paired with moisture testing.
Thermal Imaging vs Moisture Meter: How They Work Together
The two tools answer different questions. A thermal camera scans a whole room fast and shows where to look. A moisture meter gives a direct reading at a single point.
| Tool | What it does | Strength | Limitation |
|---|---|---|---|
| Thermal camera | Maps surface temperature across a wide area | Fast, non-contact, finds hidden patterns | Infers moisture, does not confirm it |
| Moisture meter | Measures moisture at a point | Confirms water content directly | Slower, only tests where you probe |
Think of the camera as the map and the meter as the pin. The camera says “look here.” The meter says “yes, it’s wet.” One without the other leaves a gap in the evidence.
Thermal Imaging Camera Limitations You Should Know
A thermal camera is a powerful tool with real limits. It reads surface temperature, and it can be fooled. Knowing the limitations is how you avoid a false alarm.
What Thermal Imaging Cannot See Through
Thermal imaging cannot see through walls, glass, smoke, water or clothing. It only reads the heat on a surface.
The reason is physical. A thermal camera detects long-wave infrared radiation emitted by the first surface in its line of sight.
- Walls and solid materials: the camera reads the wall’s surface. A pipe or stud behind plasterboard is invisible unless its heat has conducted through to the surface and created a pattern there.
- Glass: ordinary window glass is largely opaque to long-wave infrared. A thermal camera pointed at a window reads the glass surface and reflected room temperature, not the outdoors. This is why thermal surveys of glazing need specific conditions and often a different spectral band.
- Smoke, steam and dust: airborne particles scatter and absorb infrared, blurring the reading and masking the target. A steamy bathroom or a dusty roof space degrades image quality.
Where a problem sits behind a solid surface, the camera can only show its effect, not the cause itself.
Distance, Weather and Environmental Conditions
Even when the target is in plain sight, conditions can spoil the reading.
- Distance: the further the camera is from the target, the more the signal is diluted by the atmosphere and the more the camera’s field of view averages across a larger area. Small anomalies obvious at two metres can disappear at twenty. A close, square-on view gives the most reliable result.
- Weather: rain, wind and direct sun all interfere. Wind cools surfaces unevenly and can mask or mimic draughts. Direct sunlight heats surfaces far above air temperature and creates false warm patches. A common pattern is to survey external walls on a cool, dry, overcast day with low wind, and internal walls with a steady indoor-to-outdoor temperature difference.
- Time of day: solar gain and occupancy heat linger in the structure. Surveys done too soon after sunset can read stored heat rather than the defect.
Emissivity, Reflections and False Readings
Not all surfaces give off heat the same way. Emissivity describes how well a surface radiates heat, on a scale from 0 to 1. Most building materials, plaster, brick, timber, concrete, painted surfaces, sit high, around 0.85 to 0.95, and read reliably.
Reflected temperature is the other trap. A cool, low-emissivity surface can bounce heat from a nearby source, a radiator, a person, a warm wall, and look warm when it is not.
Safety, Privacy and Medical-Use Boundaries
Thermal cameras are sometimes marketed with claims they cannot support. Two boundaries are worth stating plainly.
- Privacy: a thermal camera does not see through clothing or walls, so it cannot reveal people or objects behind them. It reads surface temperature only. Anyone claiming otherwise is misrepresenting the technology.
- Medical screening: elevated skin temperature can be a sign of many things and is not a diagnosis of illness. Thermal cameras used at building or workplace entrances measure surface temperature, not core body temperature, and are affected by ambient conditions, distance and what a person has just done. They are a screening prompt at best, not a medical test, and any health concern belongs with a qualified health professional.
Watch out: a survey that ignores emissivity, reflected temperature and weather conditions can produce a confident-looking image that is simply wrong. Ask what conditions the survey was done under and how the camera was set up.
How an Inspector Reads a Thermal Image Responsibly
Responsible reading means treating a thermal image as a clue, not a verdict. The inspector checks the conditions, adjusts the camera, and confirms every anomaly with a second method. The practical difference is in the workflow and in knowing which findings are direct measurements and which are inferences.
Direct Detection Versus Inference
This distinction is the single most useful thing to understand about a thermal report.
- Direct detection: the camera measures apparent surface temperature. A warm switchboard, a cold patch on a ceiling, a hot bearing on a motor, these are direct readings of a surface temperature pattern.
- Inference: moisture, air leakage, missing insulation and hidden faults are not measured by the camera. They are inferred from the thermal pattern and then confirmed by another method. A damp patch is inferred from a cool area and confirmed with a moisture meter. A draught is inferred from a streaky pattern and confirmed by feeling for air movement or using a smoke pencil. A loose electrical connection is inferred from a hotspot and confirmed by an electrician with a multimeter or by tightening and re-testing.
A report that blurs the two is hard to act on. A good report says which is which.
A Practical Inspection Workflow
A repeatable sequence reduces false alarms and makes findings defensible.
- Prepare the conditions. Establish a steady temperature difference across the building envelope, typically by running heating or cooling before the survey. Note the indoor and outdoor air temperatures, the time of day and the weather. Avoid direct sun on the surfaces to be surveyed and keep wind low for external work.
- Set up the camera. Enter the correct emissivity for the material, set the reflected temperature to match the surroundings, set the distance to the target, and focus sharply. An out-of-focus thermal image smears temperature across edges and can invent patterns that are not there.
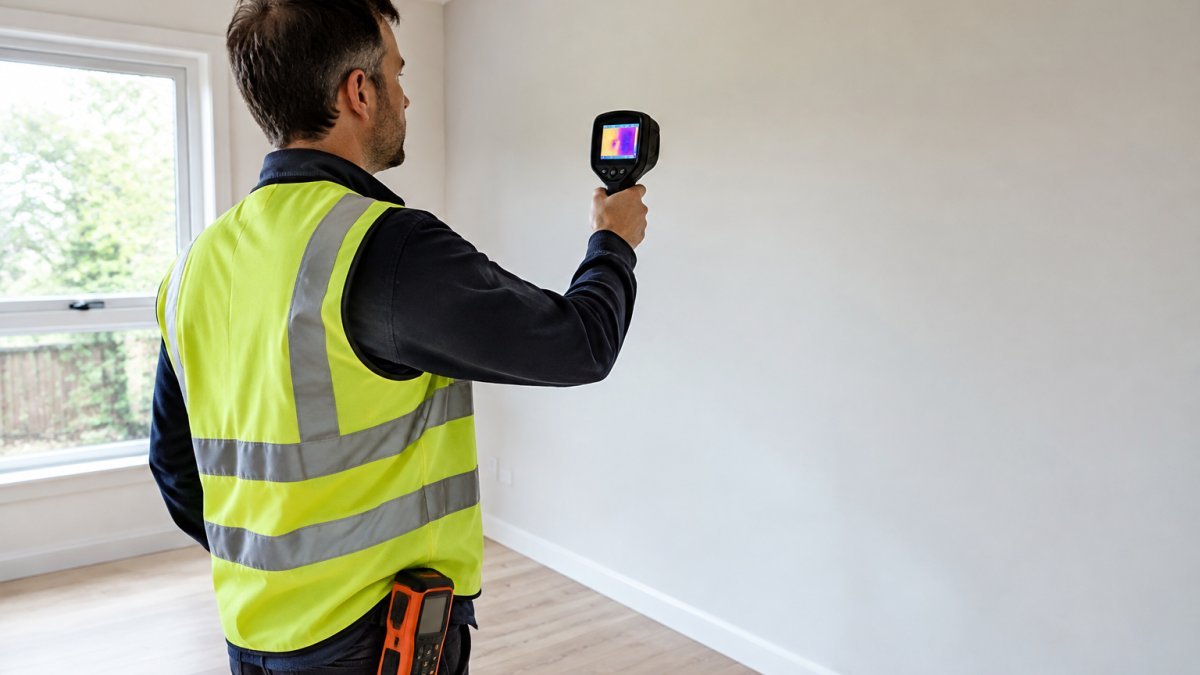
- Scan wide, then close in. Start with a wide view of each room or elevation to spot anomalies, then move closer and square-on to each one. Record the location, the apparent temperature and the conditions at the time.
- Document before interpreting. Capture the thermal image alongside a visible-light photograph of the same spot. Note the camera settings. A thermal image without its context is easy to misread later.
- Confirm every anomaly. Use the appropriate follow-up: a moisture meter for a suspected damp patch, a probe or a closer physical inspection for construction detail, a qualified tradesperson for electrical or mechanical hotspots. Do not write a finding into a report on the thermal image alone.
- Re-scan after any change. If a repair is made, re-scan under the same conditions to confirm the pattern has gone. This is also how you check your own interpretation was right.
Reading the Image Without Jumping to Conclusions
A few habits separate a careful reading from a guess.
- Compare like with like. A cool patch means little unless you compare it with the same material nearby under the same conditions.
- Check the edges. Sharp temperature boundaries often follow construction, a stud, a lintel, a junction, rather than a defect. Learn the building’s thermal signature before calling an anomaly.
- Beware the obvious. A cold spot near a window may be draught, may be a cold bridge, or may be a reflection. The follow-up check tells you which.
A well-written report separates direct detection from inference. If you are weighing up who to hire, our guide on how to choose a building inspector in Canberra explains what to look for. It also helps to know the common defects in Canberra houses that thermal imaging can help reveal, and the wider benefits of thermal imaging inspections for homebuyers. For termite and moisture detection, see our local termite inspection service.
Watch out: a report that lists thermal ‘findings’ with no confirmation step, no camera settings and no record of conditions is a red flag. Ask how each anomaly was verified and under what conditions it was seen.
Book a Thermal Imaging Inspection Before You Bid
A thermal image tells you where to look. A full inspection tells you what it means for the property you are about to buy.
If you are bidding on a home, don’t rely on a vendor’s report alone.
Get started with Resicert and bid with confidence. Request a Quote for a building and pest inspection that includes thermal imaging before your offer closes.
Thermal imaging rewards the buyer who asks the right questions and confirms what the camera flags.
Frequently Asked Questions
Does thermal imaging detect temperature or heat?
It measures surface temperature, not heat directly. The camera’s infrared sensor reads the radiated heat coming off a surface and converts it into a temperature value and a thermal image. That is why the reading is only as good as the conditions: a wall that looks cold may simply be in shade, and a warm patch may be a hotspot or a reflection. Inspectors use a temperature difference between the suspect area and its surroundings, then confirm the cause with a moisture meter or a physical check.
Can thermal imaging detect electrical faults?
It can flag a hotspot at a switchboard, socket or light fitting, which often points to loose connections, overloaded circuits or failing components. The camera does not diagnose the fault itself. A qualified electrician still needs to test the circuit before anything is repaired. In a pre-purchase inspection, an electrical hotspot is best treated as a prompt for further investigation rather than a confirmed defect.
How accurate is thermal imaging?
Accuracy depends on the camera’s temperature range, thermal sensitivity and how it is calibrated, plus the emissivity setting used for the material being scanned. A quality camera can resolve small temperature differences, but readings are still surface measurements. Reflections, wind, sunlight and recent occupancy can all shift the result. That is why a thermal imaging inspection pairs the image with moisture testing and a visual check rather than relying on the picture alone.
What are the limitations of thermal imaging in a building inspection?
It cannot see through walls, glass or smoke, and it cannot confirm what is causing a temperature pattern on its own. A cold patch may be moisture, missing insulation or an air leak. Metal and glass surfaces reflect infrared energy and can mislead the camera. It also works best with a temperature difference between inside and outside, so a mild day can reduce contrast. Expect the inspector to use thermal imaging as one tool alongside moisture meters, visual checks and, where needed, a second visit.
